Birches

Birches

Tuesday, May 5, 2015

Maine coast evening demo

Thought it would be fun to do an evening shot where we have to push our colors a bit.
Maine Evening Coastline demo reference shot
This piece is a great exercise in pushing colors. If you train your eye to dissect a photo you will begin to see more color subtlties. I am choosing the push the yellow and pink tones.
Keep the line drawing simple

Start with the sky letting the pale yellow pink and blue mix slightly...not TOO wet or you have soup, not TOO dry or it wont blend.

Repeat sky colors in water as it reflects from above.

Next I added the distant land mass starting with the upper edge in a bluegreen and pulling it down with fresh water to imply mist on the horizon.

Next I started to build up the trees on the banks. Here is a close up. Remember the tree masses get darker as they get closer because of atmospheric perspective. Remember to leave some open spaces to let the light come through and have the top edge lacey and tree like so it doesnt look " Trimmed" or " Mowed" i.e. too straight, artificial and regular :)

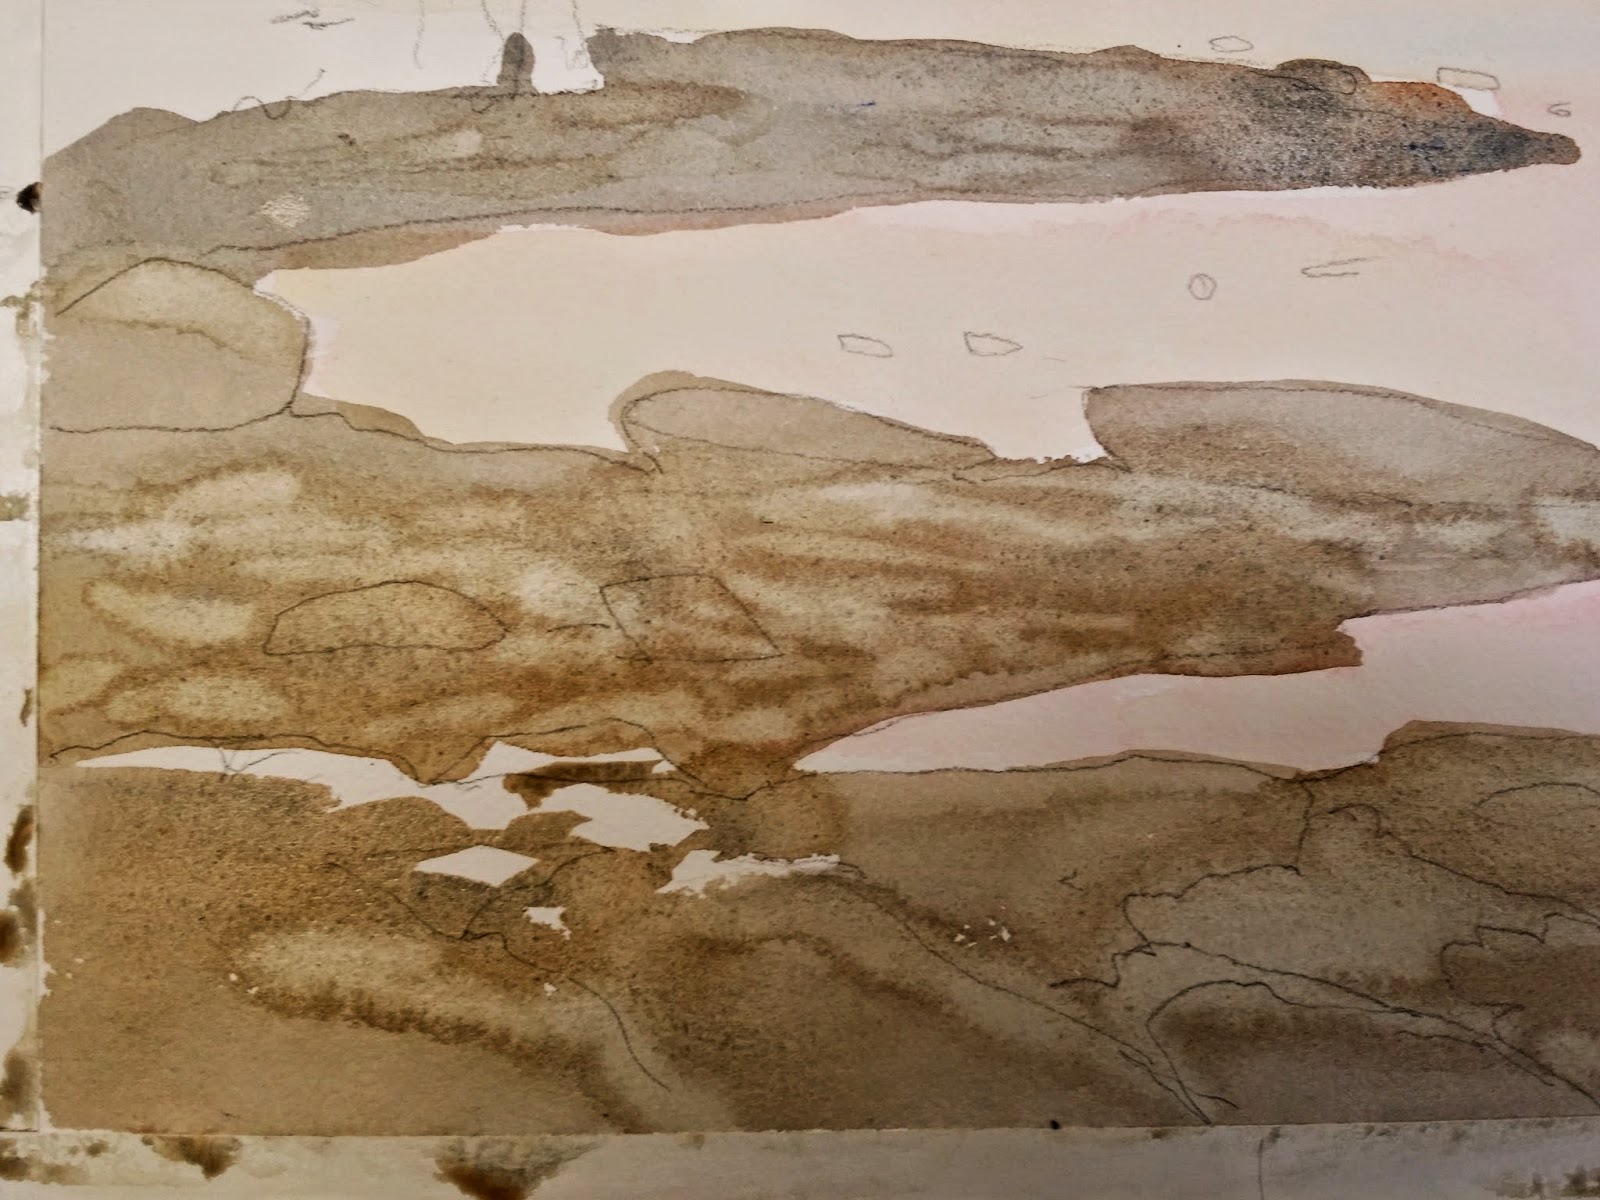
Next I began building the rock areas, starting with a mixture of Burnt Sienna, Ulramarine Blue and Yellow Ochre. I put in the big areas and then went in with clear water to bring back the hightlights and water pools.

Here is the whole shot to see how it is coming together. I lifted a light area in the rock mass in middle left because I forgot to leave space for the green grass area in shadow.

In looking at the piece from afar ( remeber to get up and walk away from your piece every so often. It makes a world of difference)  I noticed the water colors needed to be keyed up a bit ( brighter). The pinks helped a lot and I softened the lower rock mass edge so it is less crisp. This will allow me to put in the mini reflective puddles in the forground mud and rocks.

Here I started to develope the larger evergreens, and I added the green grass mass that I had forgotten earlier.

Ok here is a picture IN PROCESSS!... to show you how I start to separate the rocks. You guys should probably do one rock at a time and while that dark outline shape IS STILL WET pull it up with clear water to blend into the rock and add form.

See how those dark lines blend into the rocks now with the clear water! Next start putting shadows on the bottoms of the big boulders to give form.

Next I started to add the seaweed darks. This can be used as a great tool to lead your eye into and around the painting.

Here I rewet the water with clear water where the reflections will be, and then with a concentrated wash I gently put in the reflections. Go slow with this as it will bleed. Remember to blot the excess paint off your brush so it doesnt let out too much paint. You need to go a smidge darker than you think because it will bleed and thus lighten. After you get the reflection in, use clear water and make some horizontal marks over the reflection to imply ripples. Only do this in 1 or 2 spots or else it will just all bleed together.

No comments:

Post a Comment